When you imagine your family’s Thanksgiving spread, there are probably a few staple items you look forward to seeing each year. While there are mixed feelings about turkey, and everyone’s got their favorite side, we all expect to see a variety of autumnal pies to finish our annual feast. From sweet potato and pumpkin to pecan, derby, and cinnamon-laced apple, there’s a litany of tasty options. But for those who don’t bake pie regularly, the idea of creating light and flaky crusts with perfectly set centers may be daunting.
For a dessert that appears seemingly simple, there are a hundred different places you could run off course. Burnt edges, soggy bottoms, and split custards are just a few hurdles you may encounter, but armed with our pro pie tips, we can help guide you through the tricky parts. Consider this list your Thanksgiving pie survival guide. For those who have been baking for years, learn to level up your go-to holiday dessert with a few handy hacks you may have never heard of.
The Flavor is in the Fat
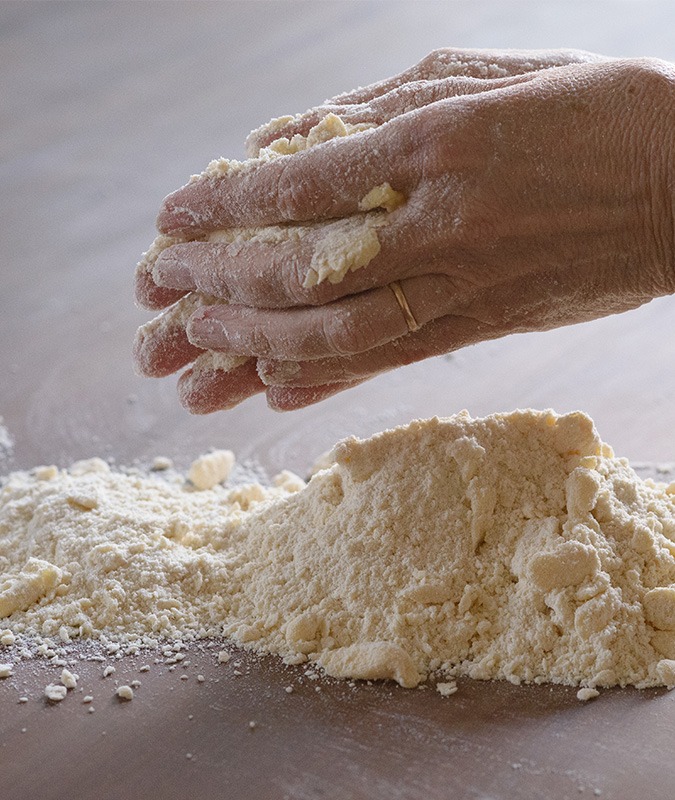
Butter, of all the possibilities provides your bakes with the richest flavor. There are however, some downsides to using 100% butter in your pie crust. Because of its relatively low melting point, butter can also be the trickiest to work worth. Hot hands, a warm kitchen, or heaven forbid, both could result in a mealy crust. To hedge your bets and help ensure something light and flaky at the end of your efforts, try a combination of butter and shortening or lard. Adding their higher melting points to the equation gives you extra time to work in your fat. It also gives you the richness without ever compromising your textures.
The Method
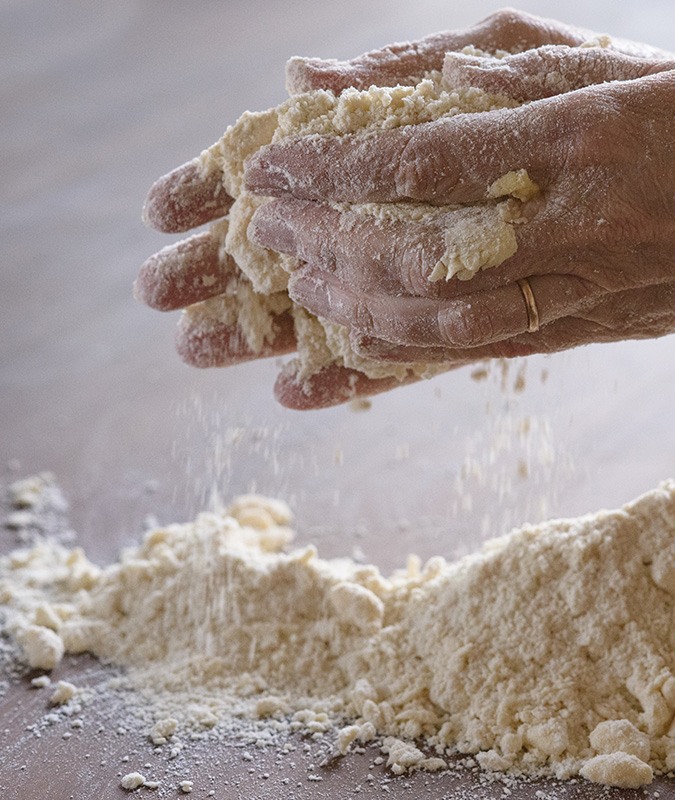
Your method of incorporation is also vital. While there’s something to be said for the speed and ease a food processor provides, the most control comes from mixing your fat in by hand. ½-inch butter cubes between the fingers make it practically impossible to cut your butter too small and help prevent a dense crust.
Keeping it Cold
If we haven’t stressed the melting points of various fats enough already, allow us to take a moment to do so once more. If you want to achieve iconic levels of flake, your fats must be very cold when they are incorporated. Warm butter will melt into your dough. Use butter straight from the fridge and ice water to help keep things cool. If you are using a food processor, you can even use butter that is still frozen.
Take breaks to chill your dough at the slightest sign that it may be getting warm. We like to start with cold ingredients: combine them quickly, wrap and chill, roll, crimp, and refrigerate or freeze again until ready to add your filling or par-bake. While this may sound like overkill, believe us; your delightfully crispy pie crust will quickly make you a believer in the extra attention to temperature.
Hydration
For the inexperienced baker, following a recipe for pastry can be one of the most frustrating. That’s because water measurements are always listed as estimates. Painful memories of the words 'add more as needed' are emblazoned in the mind of every baker. The reason for these approximations lies with another ingredient: flour.
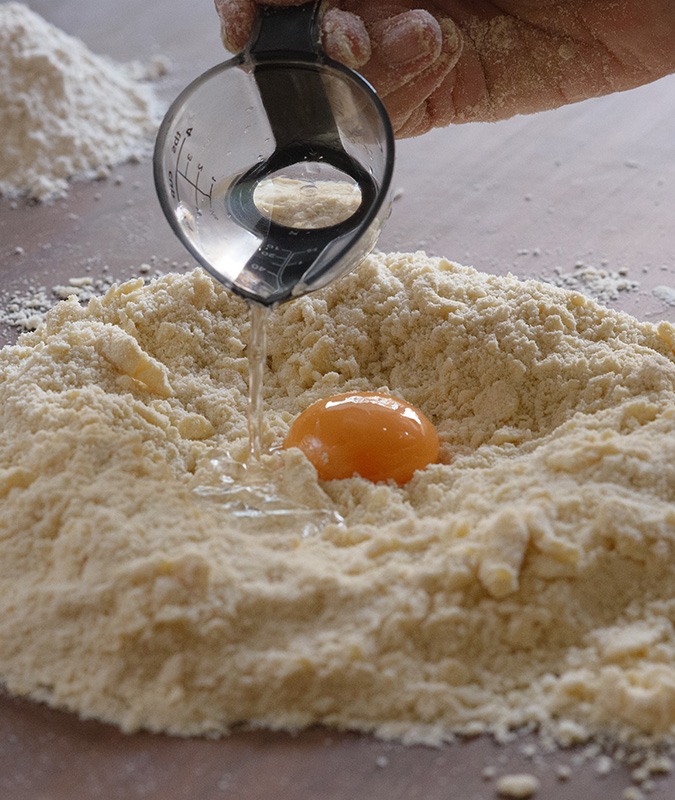
Every brand of flour hydrates differently, requiring more or less liquid to achieve the desired results. Remember, you can always add more, but it’s tricky to take it out. Go slow, start with a little, and if you’re unsure, stick the dough in the refrigerator for several minutes. This step gives the flour a chance to absorb the liquid and gives you a better idea if you’ve hydrated adequately.
We also swear by the ‘sprinkle method’. Dip your hands in water and flick the water droplets onto the dough from your fingertips. This adds a small amount of liquid at a time and gives you a little extra control.
Wet Dough
If you accidentally go overboard on the liquids, all is not lost. Wrap your dough and let it rest; when ready to roll, add a generous amount of flour to the counter or board you’re using. This extra flour will help counteract the wetness and even things out.
Prepping Ahead
The great thing about pie is that all the elements can be made well in advance, allowing you to quickly bake several delicious pies in a matter of an hour or two. Dough can be well-wrapped and kept in the refrigerator for up to two days. Be careful though; after 48 hours the butter will begin to oxidize, turning your pastry an unappetizing shade of grey. If you’re not making pie within the next two days, place it in the freezer. A well-made pie crust will keep beautifully; if frozen for up to three months.
The Art of Rolling
To ensure a round crust, we encourage lots of rotation. A single back-and-forth pass over the dough won’t seem like enough, but trust us, it is. Rotate after every pass to help prevent sticking and to give you that perfectly round shape.
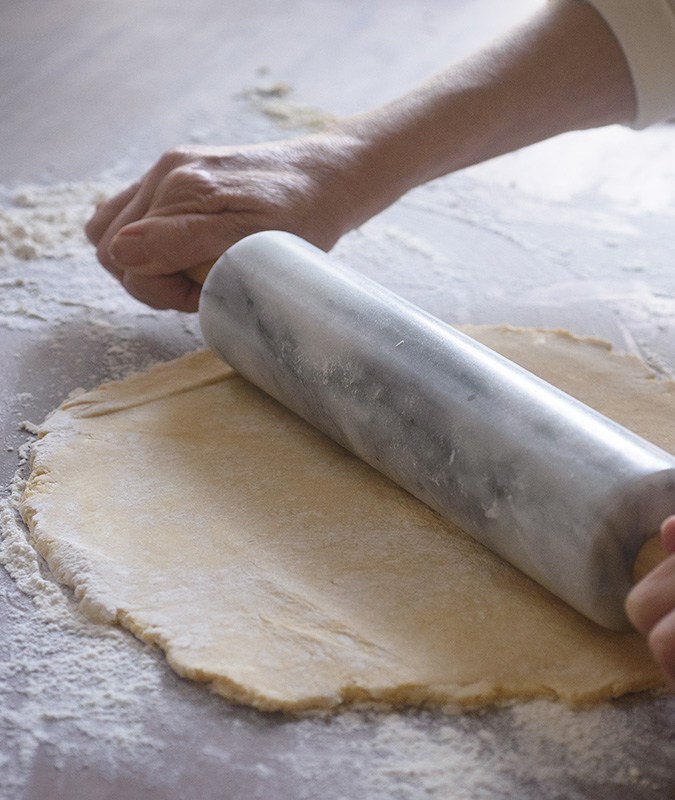
For extra insurance against sticking: flour a sheet of parchment or plastic wrap and roll your dough on that instead of directly on the counter. It will not only make rotating easier, but you’ll also have an easier time transporting your dough to the pie plate. Plastic wrap also helps prevent your crust from cracking, a common dilemma when trying to roll out dough that is too cold or underhydrated.
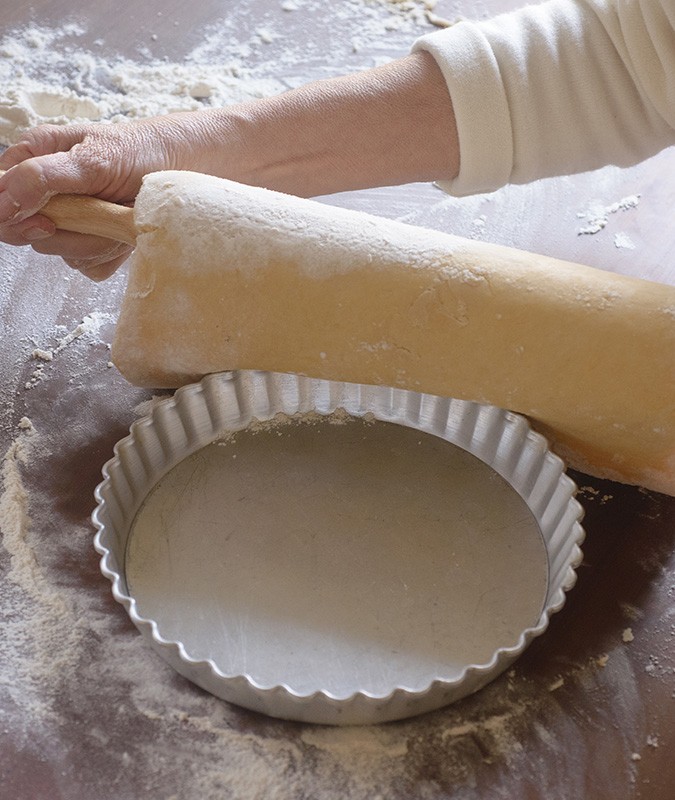
The Right Size
Unsure how large to make your circle of dough? Place your chosen pie plate upside down on top of your pastry. When you have at least an inch all around your plate, you’re good to go. The thickness of the crust must also be factored in figure about an ⅛-inch or a little thicker if you’re worried about it being too fragile.
Once your pastry is rolled and transferred into your pie plate, our favorite tool is a pair of sharp kitchen sheers. Scissors work perfectly for neatly trimming off excess pastry and they give you the most control. Give yourself about ½ inch of overhang around the plate to ensure plenty of crust to crimp.
Blind Baking
To help avoid a soggy bottom, we encourage blind-baking. Some single-crust pies need a little extra time in the oven, especially if they're designed to hold a wet filling like pumpkin or custard. Partially baking the crust gives it a head start before adding your filling and gives you that crisp crust in every bite.
Dock your dough with a fork, line it with parchment or foil, and fill it with beans, baking beads, rice, or sugar. Weighing down the parchment help keep your crust from bubbling up and ensures a beautiful even crust ready to receive your favorite pie filling. When the crust has gone from ‘wet’ to ‘matte’ (about 15 minutes), remove the parchment and bake again. Approximately 10-15 minutes uncovered in the oven should give you a light golden crust.
Always Egg Wash and Sugar Sprinkle
An egg wash over the crust before placing it in the oven to bake encourages browning and makes the pie even prettier. A single egg yolk and a tablespoon of heavy cream is our favorite ratio for achieving the optimal coloring on your crust. A sprinkle of raw sugar on top gives an extra punch of sweetness, adds some shimmer, and gives a great textural contrast. So be sure not to skip this last step.
Lastly, what’s the very best way to improve your baking? Practice, of course! Consider this your excuse to bake a few pies between now and November 24th. We’re certain you’ll learn a lot along the way. With our handy pie baking guide in tow, you’ll be able to whip up your tastiest Thanksgiving pies to date.